
Currently using a different logbook tool and want to switch to cloudlog.aero without retyping every flight by hand? The import feature lets you simply upload the export file from your current logbook — cloudlog.aero detects the format automatically in most cases and takes over your flights, aircraft and airports. This guide walks you through it step by step.
What the import feature does
Under Import & Export, cloudlog.aero accepts export files from a wide range of common logbook apps — currently supported formats include cloudlog.aero, SkyDemon, Aircraft Info Desk, FlightLogger, FlyGo, B4Takeoff, LogTenPro and CrewLounge. The file is first placed in a queue, then uploaded and processed in the background. While doing so, cloudlog.aero automatically creates the aircraft, airports and pilots contained in the file, as far as they don’t already exist in your account.
What you need
- An export of your current logbook in Excel (
.xls/.xlsx), CSV or text format — how exactly you create this export depends on your current app. - A file that doesn’t exceed the maximum number of rows (currently 3,000 rows). For larger logbooks, split the export file accordingly before uploading.
- A bit of patience in case cloudlog.aero can’t detect the format automatically — in that case you’ll pick it manually afterwards.
Step by step: import your logbook
1. Open the “Import & Export” page
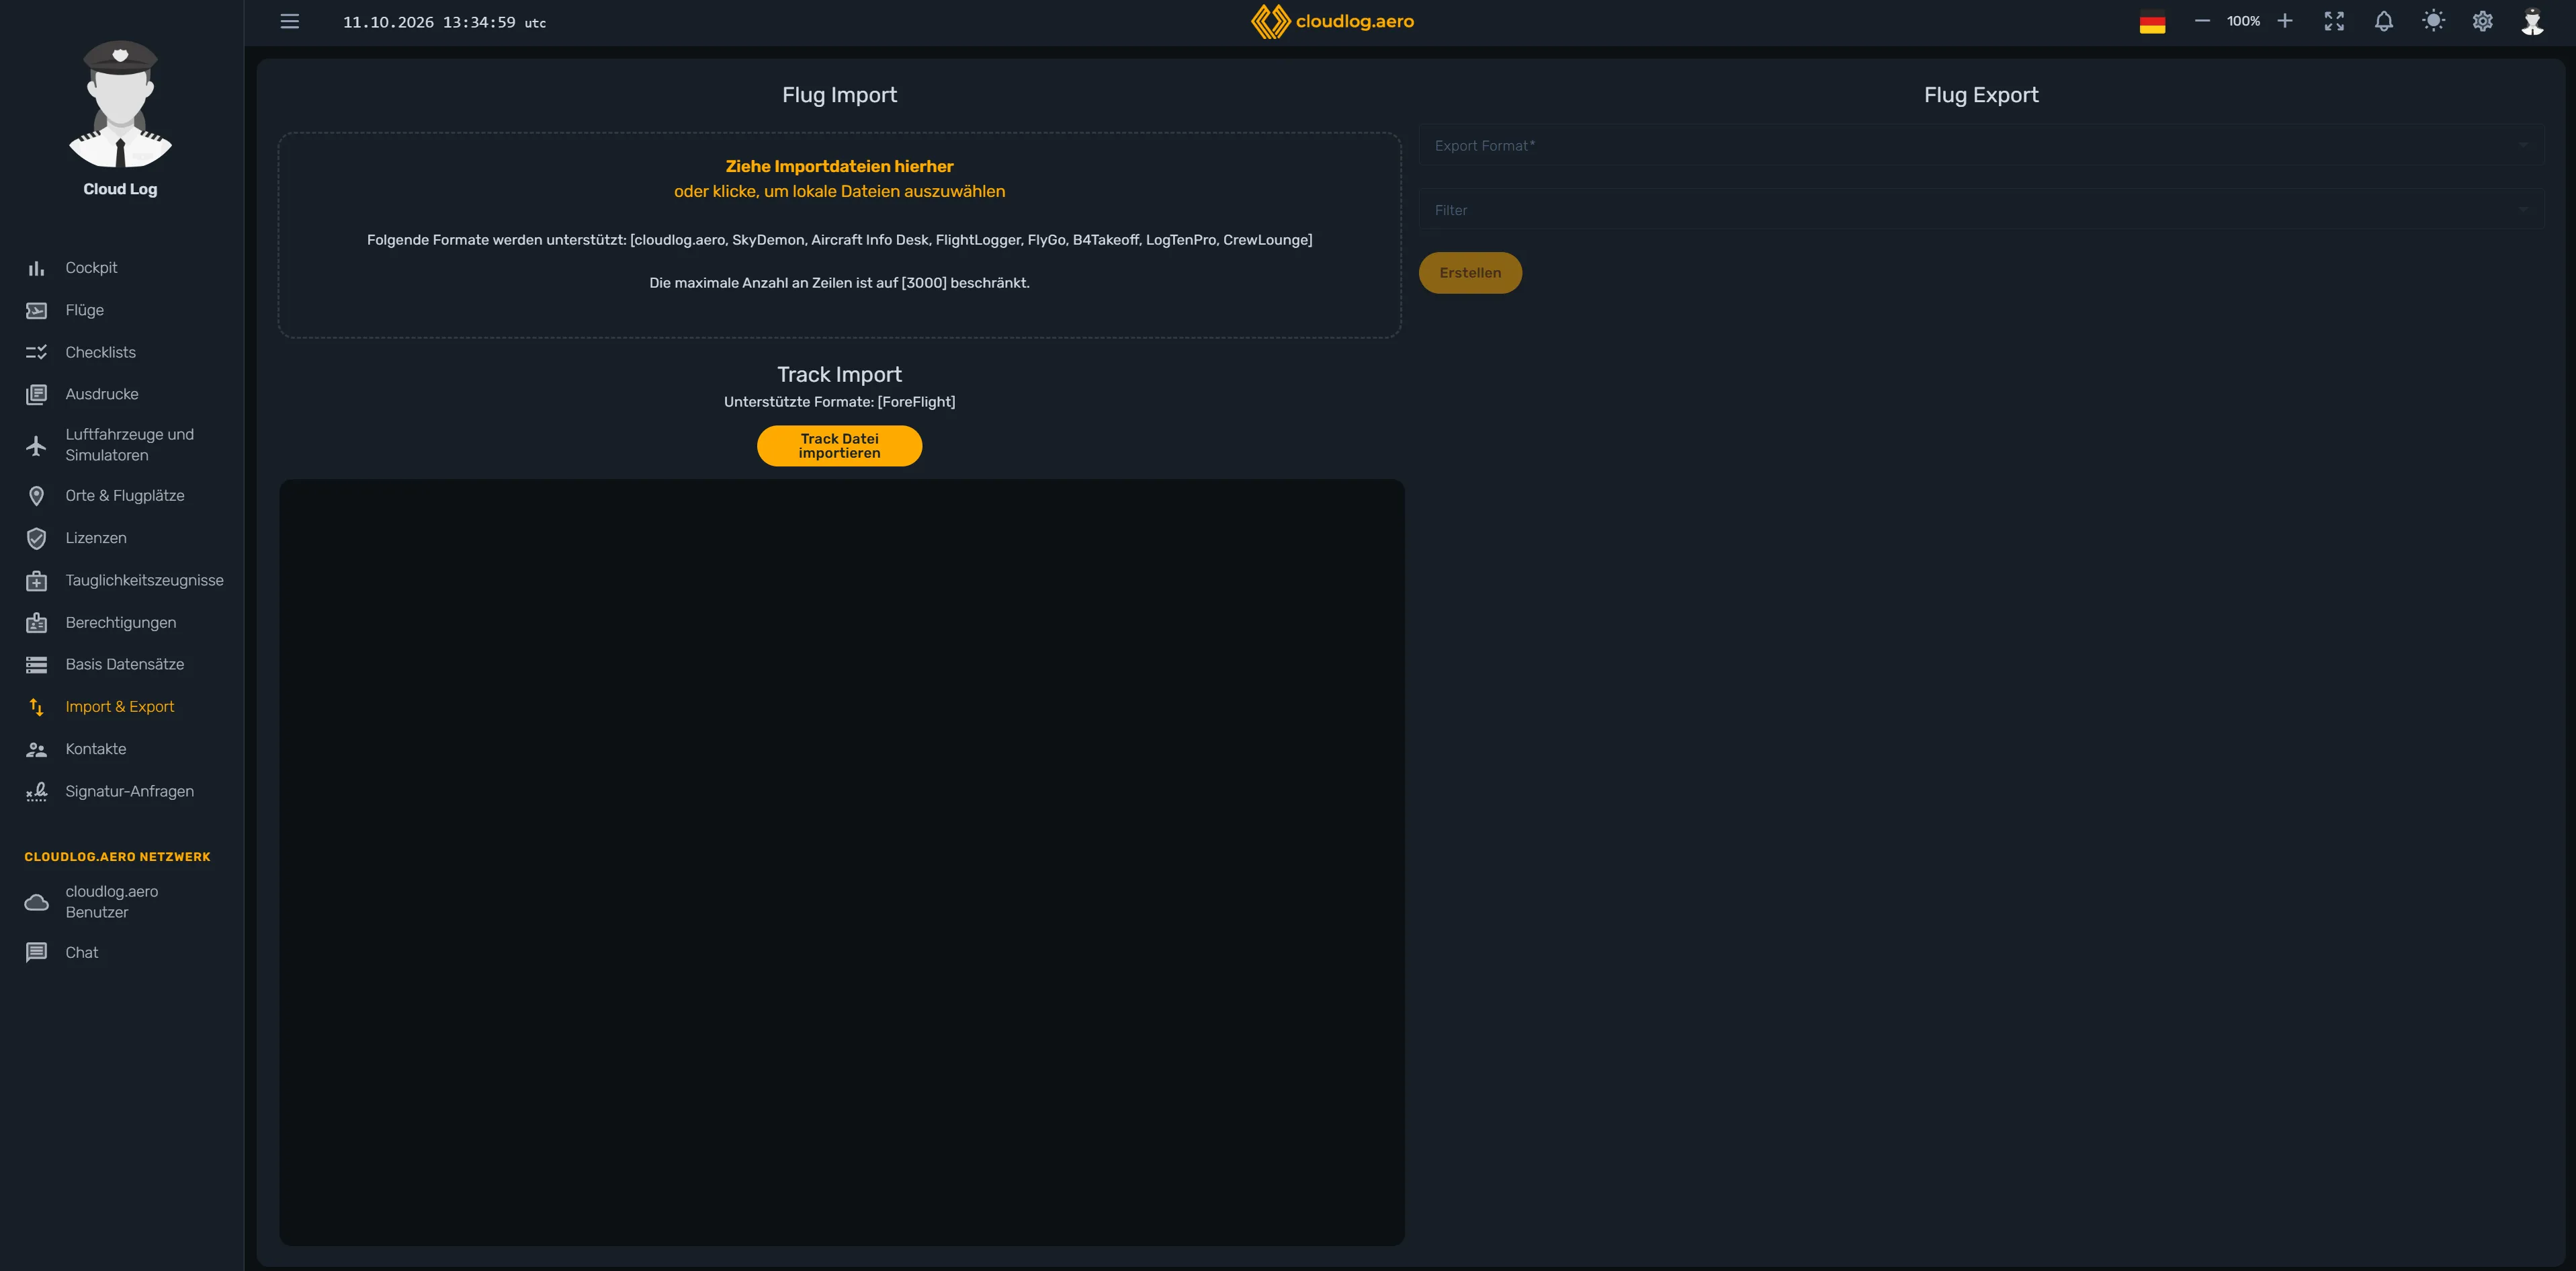
In the dashboard, open Import & Export from the left-hand navigation. On the left side of the page you’ll find the Import Flights area with the upload zone, and on the right the area for exporting.
2. Upload your file
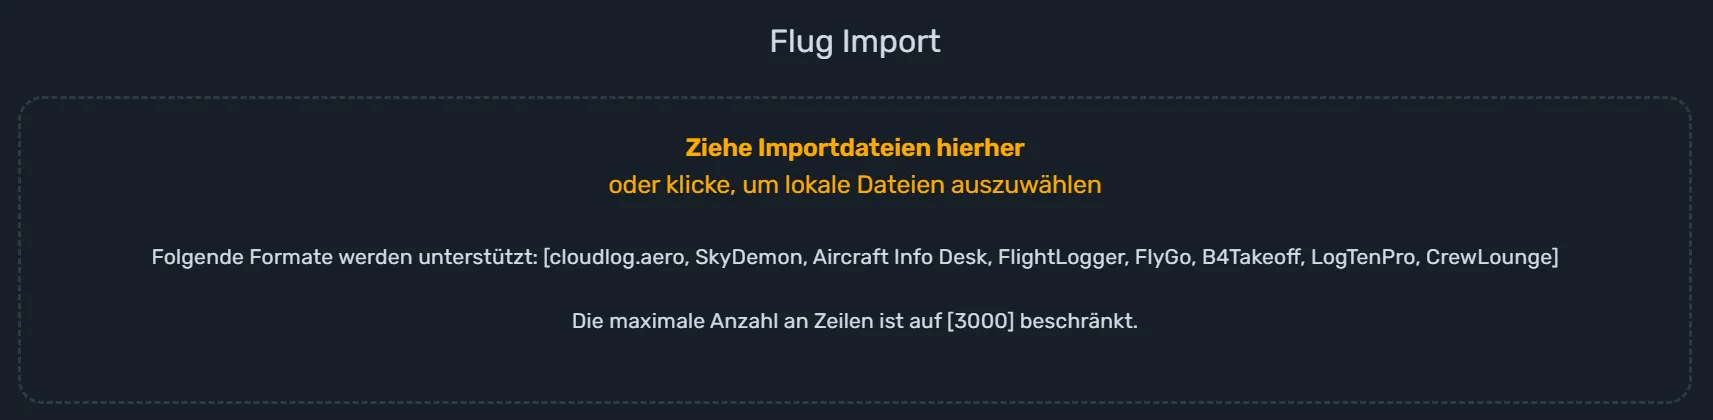
Drag your export file onto the dashed upload zone, or click it to pick the file via the file dialog instead. Excel, CSV and text files are supported; the zone also shows you the maximum number of rows allowed. If a selected file doesn’t match a supported format, cloudlog.aero lets you know with a message.
3. The import starts automatically
As soon as cloudlog.aero recognizes a known data structure in the file, the import starts on its own — you don’t need to click anything to trigger it. While it’s processing, a progress bar shows the current status and remaining time; the cancel icon lets you stop a running import at any time.

4. Confirm the format if needed
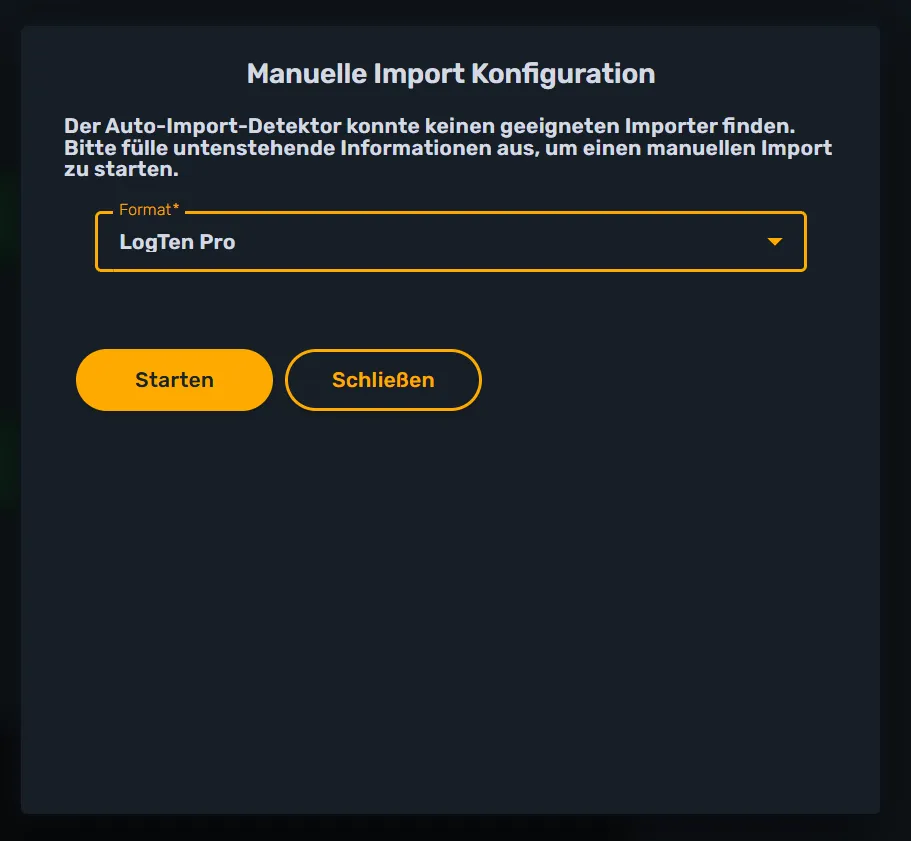
If cloudlog.aero can’t automatically recognize your file’s data structure, the import doesn’t start on its own — instead, the “Manual Import Configuration” dialog opens. Pick the format your file actually comes from from the list (including Aircraft Info Desk, B4Takeoff, CloudLog, FlightLogger, Fly Go, LogTen Pro, Pilot Pro, Simple Flightlog, SkyDemon) and confirm with Start. The import then continues using the selected format.
5. Check the result
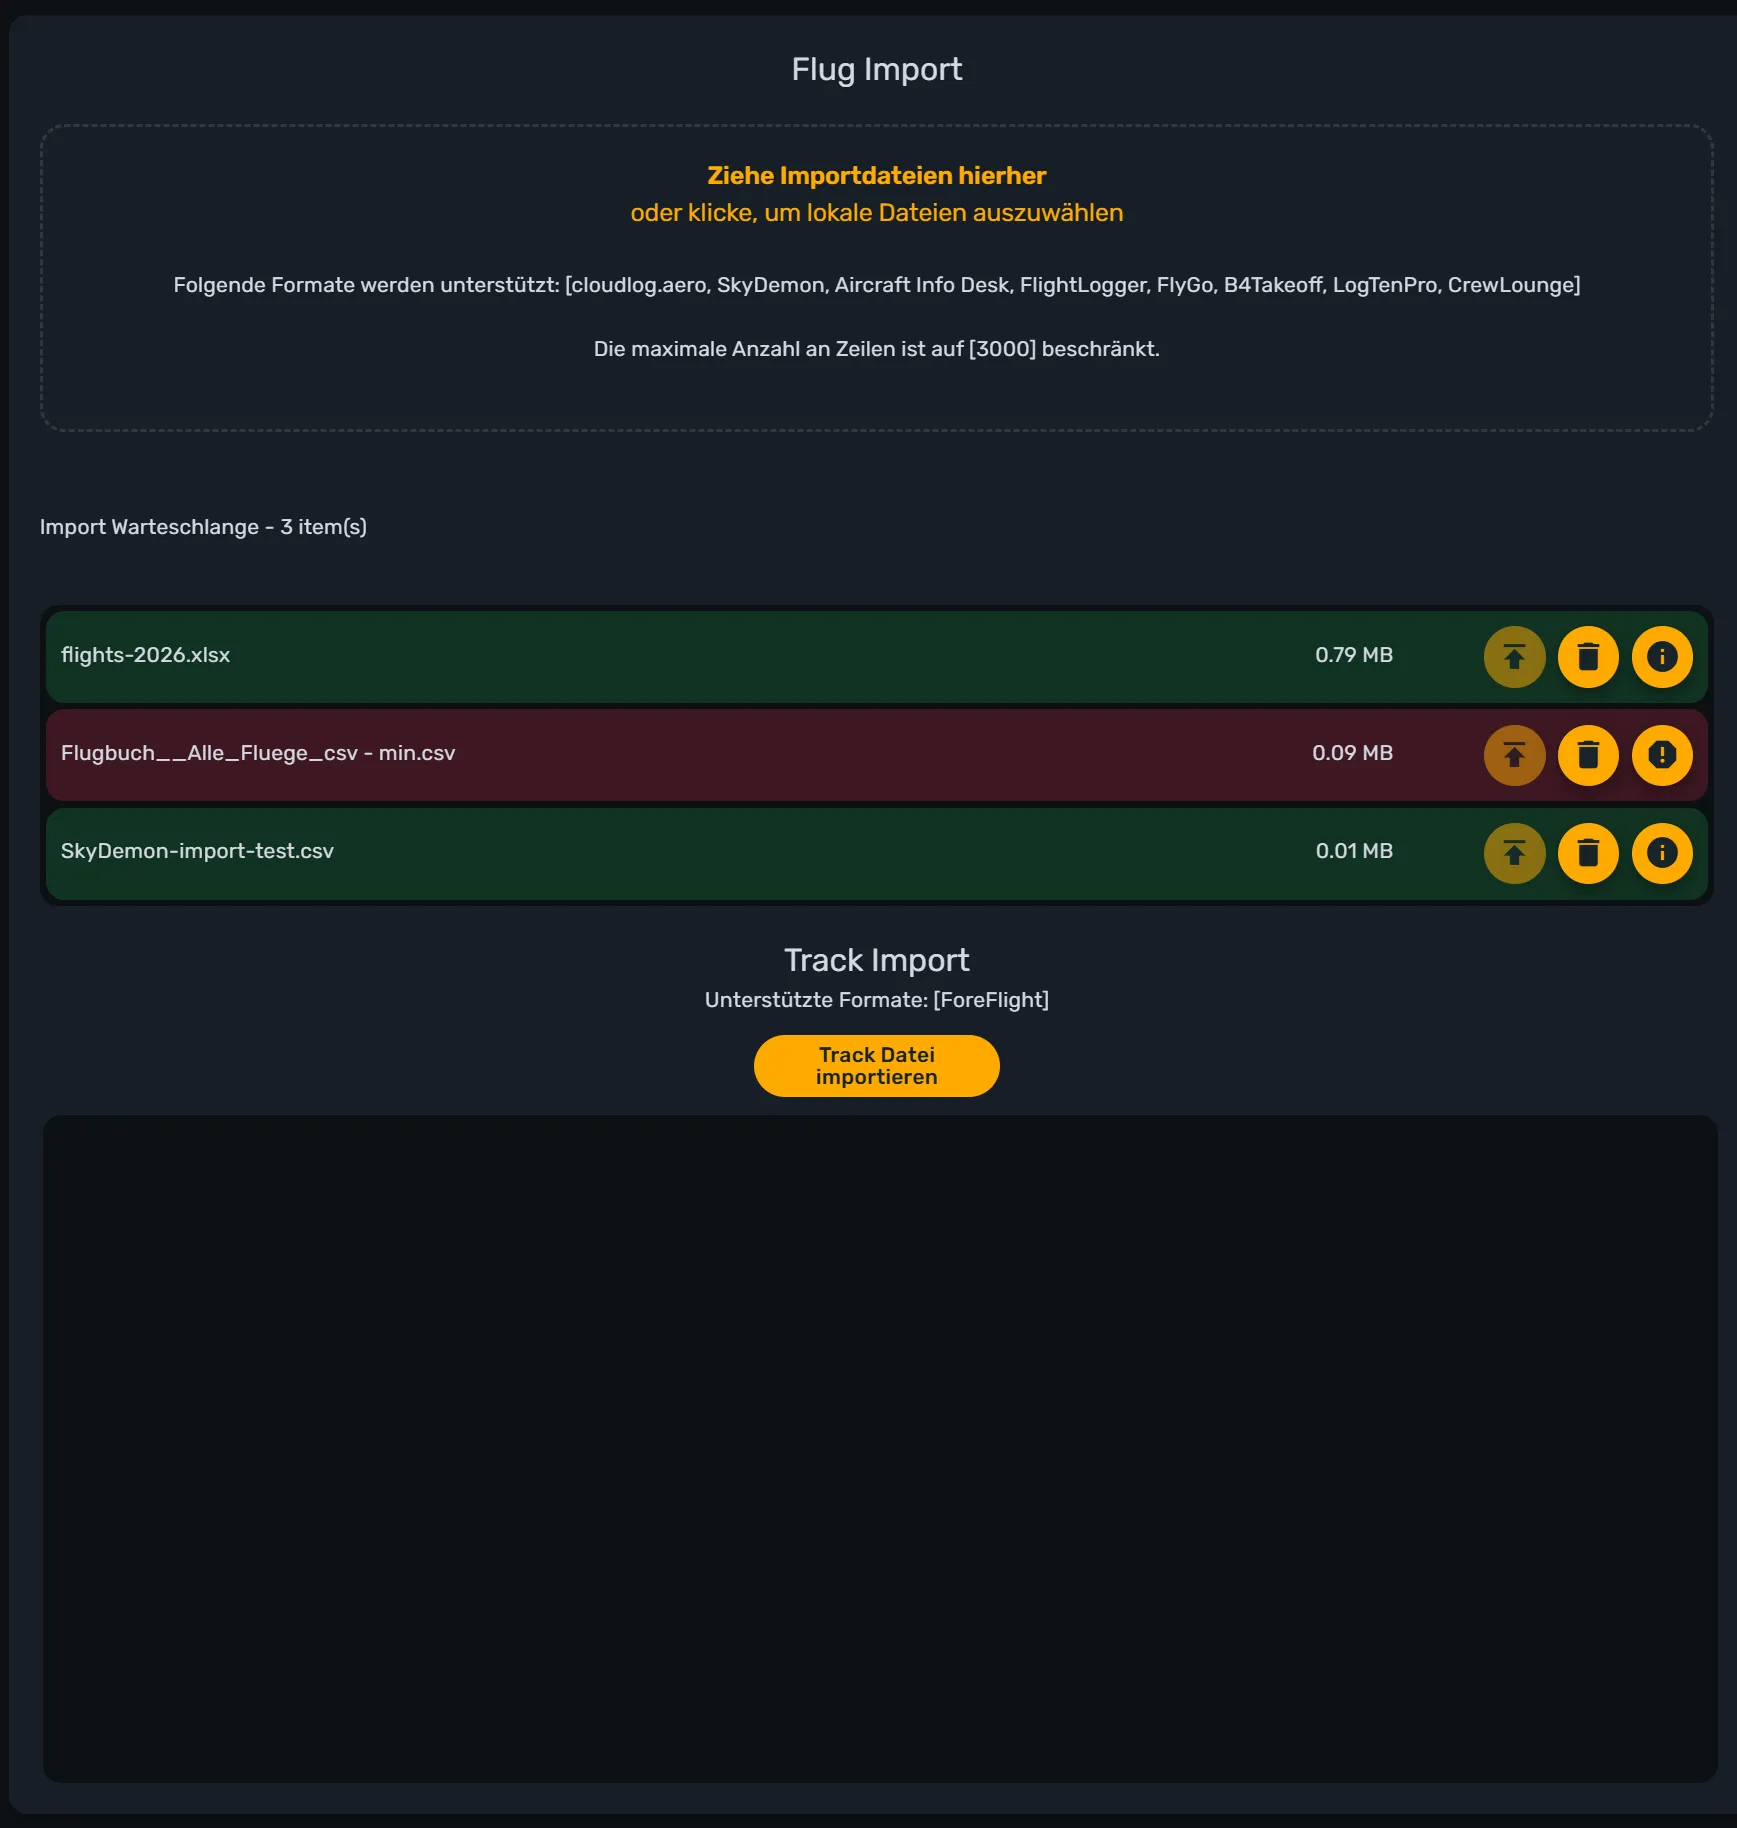
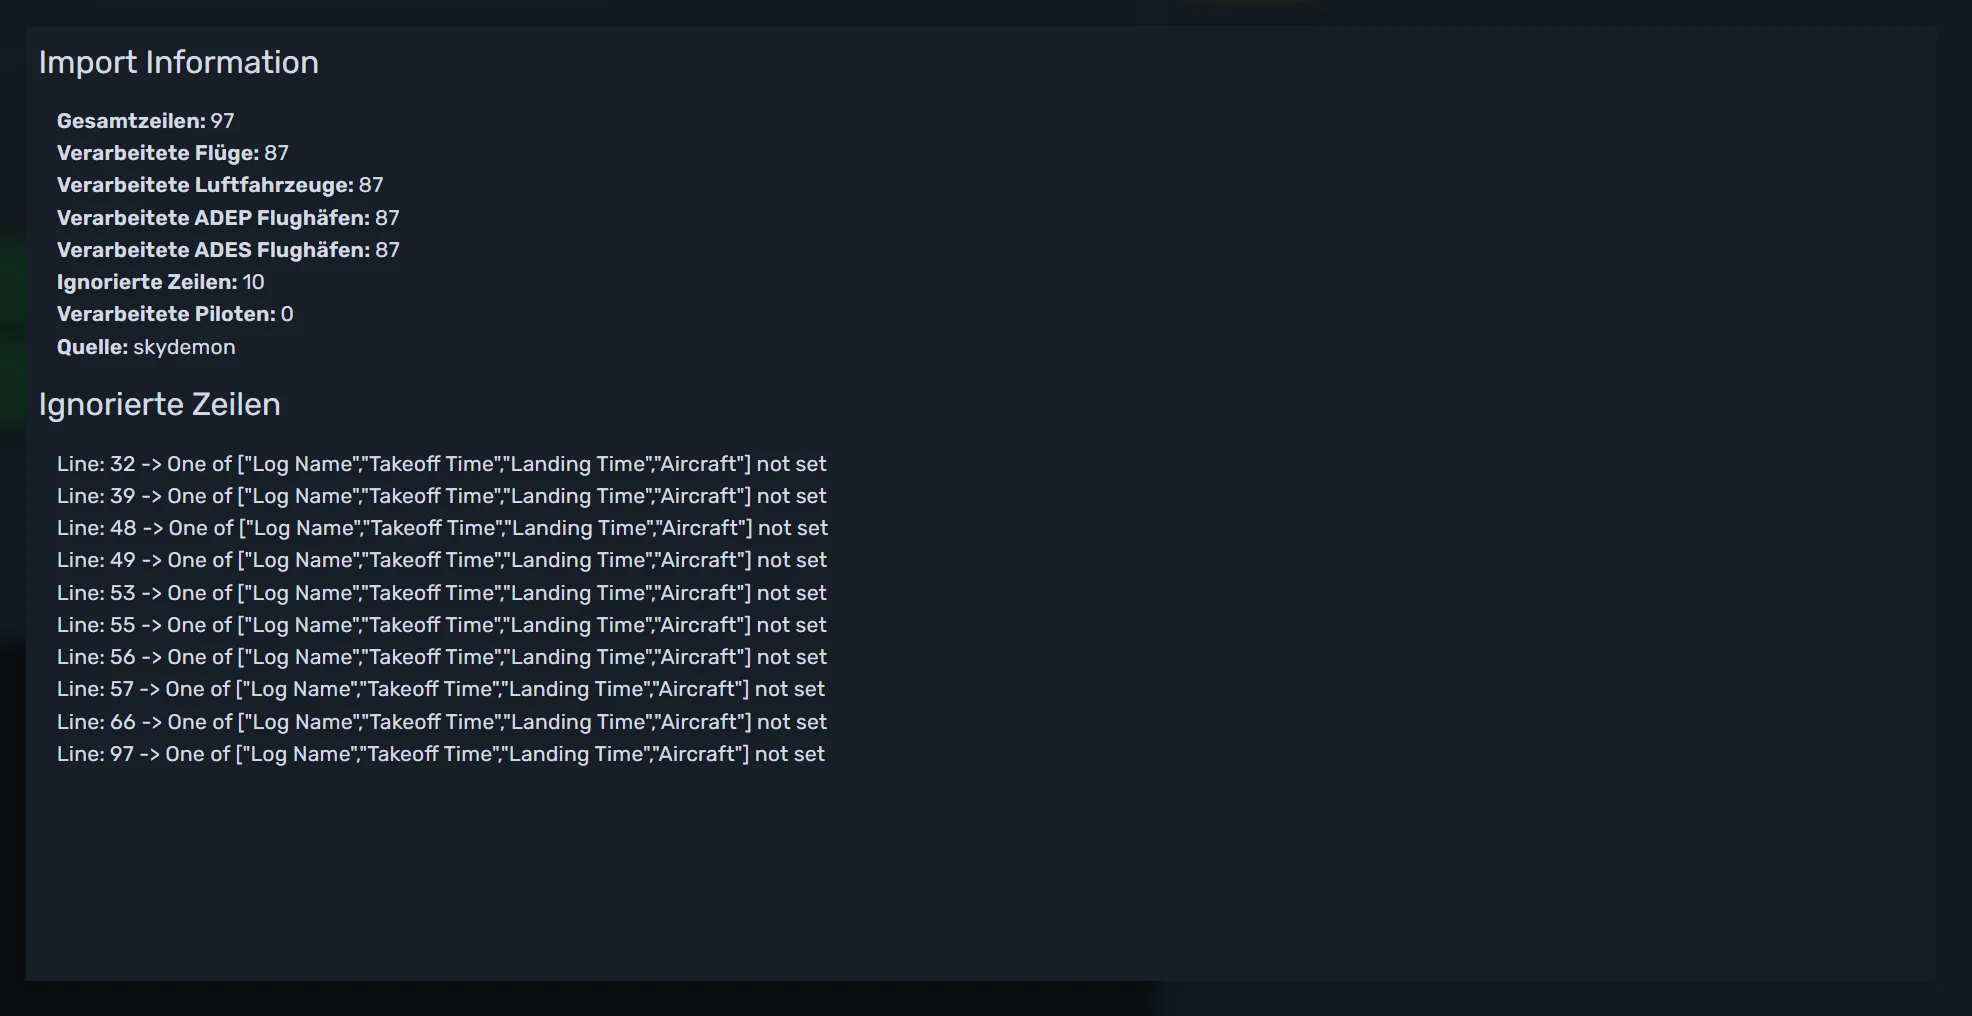
Once the import has finished, the entry in the queue turns green (success) or red (error). Use the info or error icon to open the Import Information: there you’ll see, among other things, how many aircraft, airports, pilots and flights were processed, as well as — if applicable — a list of ignored lines together with the reason.

Common questions
- Will my existing logbook be overwritten? No, the import adds the flights, aircraft and airports contained in the file to your logbook.
- What happens to lines that couldn’t be imported? They aren’t taken over and are listed under “Ignored Lines” in the Import Information together with the respective reason.
- My app isn’t on the list — what now? Check whether your app offers a CSV or Excel export; it can often still be matched to one of the supported formats. If in doubt, our support team can help.
- The file is too large. Split it into several smaller files and import them one after another.
Conclusion
Switching to cloudlog.aero doesn’t have to be tedious: upload your export file, confirm the format if needed, wait for the import to finish and check the result in the Import Information — and your previous logbook has been fully taken over.
No account yet? Set up your digital logbook at app.cloudlog.aero.